Sponge Cup Decorated Cake
Overview
It’s been a while since I’ve done any framing. After the white dew, it became much cooler in the morning and evening, but it was still very hot during the day. Just in time for the 15 activities on the road to baking for newbies in the food world. The theme of this third issue is cup cakes. As a person like me, I just like to join in the fun. Seeing such a good event, I would like to participate. Whether it's good or not depends on communication. Since we are a family baking hobby, we mainly want to eat safe food, so we don’t have to worry too much about decorating flowers. In addition, we do it out of hobby. If we are not taking orders for private houses, there is no need to worry too much about certain details. Doing it yourself is not only reassuring but also a joy. Therefore, my cup decoration recipe does not focus on how to decorate flowers, because I only know the basics, but I can give you a small introduction to my experience in decorating cream. This cup cake uses a whole-egg sponge cake technique. Compared with chiffon cake, the texture of sponge is more solid. But I personally think that sponge cake is easier to defoam during the production process, so I use sponge cake as the base, firstly for the taste, and secondly to further improve my sponge cake making technology. If you don’t know how to make whole egg sponge cake or don’t like the taste of sponge cake, you can use chiffon cake as the base. Even if it is decorated with flowers, it is not so soft that it will collapse quickly, so you can rest assured to use Chiffon.
Tags
Ingredients
Steps
-
Prepare the cake ingredients, put oil and water into a bowl

-
Put two eggs into a mixing bowl and add 50 grams of sugar

-
Use an electric egg beater to beat the eggs at medium speed. Lift the egg beater. The beaten egg batter will have streaks that will disappear after 10 seconds. The eggs are well beaten

-
Sift the chiffon cake powder into the egg batter twice. After mixing it with the egg batter for the first time, sift in the other half of the cake flour

-
Mix thoroughly; now start preheating the oven to 150 degrees

-
Mix the oil and water, then scoop a small amount of batter into the mixture

-
Mix well

-
Pour the mixed batter back into the large basin of batter

-
Mix thoroughly and this is cake batter

-
Pour the cake batter into the cake mold until it is 80% full

-
Put in the middle rack of the preheated oven, heat up and down at 150 degrees for 20 minutes

-
Take it out of the oven and let it cool naturally

-
Decorating materials are ready: whipping cream, Mifutang icing, piping tips, piping bags, piping tip converters, food coloring paste, electric egg beaters, rubber spatulas, a cup

-
Put the whipping cream and icing sugar into the basin together

-
Use an electric egg beater to beat the cream at low speed until it has obvious texture and is not easy to flow. Don't beat it too dry and don't beat it too fast. Otherwise, too much air will enter and the cream will appear too rough. It is also easy to over-beat it and it will become like tofu and cannot be used for decoration

-
Install the piping nozzle and converter on the piping bag

-
Place the piping bag on the cup and use a rubber spatula to take an appropriate amount of butter into the bag

-
Use a spatula to concentrate the cream from the top of the piping bag to the bottom of the bag, so there is no waste and the operation is refreshing

-
The circular flower nozzle can be used in any way, and there is no fixed pattern. The same flower nozzle can be made into different flower shapes by using different methods

-
Divide the cream in the basin into two parts, add a little yellow food color paste to one part, stir it slightly with a spatula

-
Change the flower nozzle to the flower shape you like, put the yellow cream into the bag, and squeeze out the pattern you like on the cup

-
In the remaining cream, you can drop a little red food color paste, so that when combined with the remaining yellow cream and white cream, it will become orange-red cream

-
You can change to another flower nozzle, squeeze out patterns on the cup, and then garnish with sugar beads and sugar granules

-
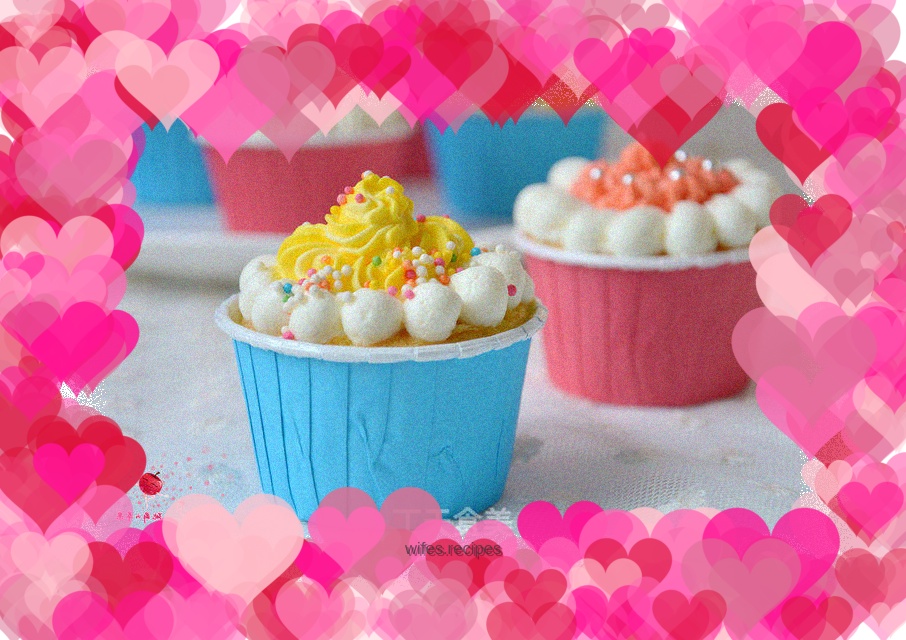
It looks great on the plate

-
Appreciation of the finished product

-
Appreciation of the finished product

-
Appreciation of the finished product

-
Appreciation of the finished product

-
Stop looking! Eat it!
