Birthday cream cake
Overview
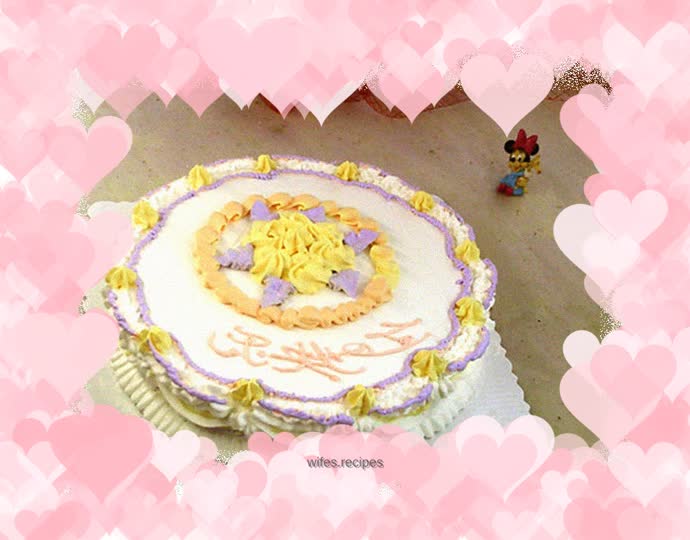
This was not the planned fourth decorating exercise. However, when I was still thinking about the third decoration, someone said, XXX’s birthday is in two days, and I want to give him a decorated cake. Let’s make a Barbie doll. Hearing this, his eyes widened: We just made two decorations! I thought to myself: This is too flattering to us. Somewhat helplessly: Okay, then I’ll give you an 8-inch cake. Counting the days, this task has to be ranked as the fourth decorating task. The fourth one I originally thought of was too unsuitable for the situation, so I had to move to the back. What kind of tricks are you using this birthday cake to practice? After thinking for a moment, I decided to use a rose mouth, supplemented by star teeth and leaf-shaped mouth, and take a graceful palace route and a gorgeous lady route... The idea is always good, but the reality is always unpredictable. Actually, it was pretty good in the beginning. This time, I whipped the cream with ice water and finally found that thick feeling. Although the surface was still not smooth, I suddenly understood the problem before. Just when I was happily expecting the ship to sail to a port that was not too different from what I expected, it hit an iceberg. Originally I wanted to make some colorful roses, but when I just whipped the cream, I tried making one with untoned cream, and it felt pretty good. However, during the formal operation, perhaps because the amount of pigment added to the cream was too small, it quickly lost its hardness under the warmth of the palm of your hand. No matter how you operated it, you could only watch helplessly as the flower slipped and collapsed sadly. After going back and forth several times, I had to give up the idea of roses and changed my mind. Suddenly encountering an iceberg, I was confused and lost my direction. Calm down your mind and start messing around as you please, just try your best and don't look too ugly. The finished cakes were sent out on the same day, and they received feedback that night: they tasted better than Hollyland's.
Tags
Ingredients
Steps
-
Materials

-
Flatten the top of the cake and cut it in half across the middle

-
Add light cream to sugar and beat into peaks over ice water

-
Place a piece of cake on the turntable and spread butter on the surface

-
smear, smooth

-
Place another slice of cake on top and spread with butter

-
Smooth the top and sides

-
Use a rosette to extrude pleats on the bottom edge

-
Continue to draw the arc on the side

-
The star-changing nozzle extrudes patterns on the intersection line between the side and the top surface

-
Continue to extrude the shell pattern at the intersection of the arcs

-
Make the yellow buttercream and pipe out star shapes on the top

-
Continue to pile up flowers in a star shape in the center of the top surface

-
Change to a thin pasting bag and draw two thin arcs above the side arcs

-
A thin arc is also drawn below the arc

-
Adjust it to orange, use the rose nozzle to squeeze out pleats, and wrap the flower in a circle

-
Change to a thin piping bag and squeeze out two circles of thin thread on the edge

-
Write in the blank space

-
To adjust the purple color, use a leaf-shaped flower nozzle to squeeze out a few leaves at the junction of the flowers

-
Change to a thin piping bag and put a layer of purple on the two thin red circles on the edge

-
On the side, extrude a purple arc below the yellow arc
