【Maple Sugar Toast】(super detailed hand kneading steps)
Overview
Maple sugar is a specialty product of Canada. Canada is the country of maple leaves, with a large number of maple trees planted throughout the country. One type of maple tree, called sugar maple, has a large amount of starch in its trunk, which is converted into sucrose in the winter. And when the weather warms again, the sucrose turns into sweet sap. Canadians drill holes in trees to obtain this precious sap given by nature. The sugar made from this tree sap is called maple sugar or maple sugar. Maple sugar is rich in minerals and organic acids, and has lower calories than sucrose, fructose, corn sugar, etc. However, it contains much higher calcium, magnesium and organic acids than other sugars, which can supplement a weak body with unbalanced nutrition. Maple sugar is not as sweet as honey, with a sugar content of about 66% (honey has a sugar content of about 79%-81%, and sugar is as high as 99.4%). So this time, I made this maple sugar toast based on Teacher Wang Chuanren’s honey toast and using healthier maple sugar. I still used the 5-degree liquid type that I like recently. Of course, there is no problem in using the direct method. The bread that is baked at the end is very soft and light in taste, suitable for making sandwiches and the like. The following quantities are suitable for a 450g toast mold.
Tags
Ingredients
Steps
-
Mix all the ingredients of the liquid until there is no dry powder, cover it with a lid or plastic wrap, and place it in the refrigerator overnight;

-
When you take out the liquid the next day, you can see many dense small bubbles on the surface and it smells of a strong alcoholic smell;

-
Put the high-gluten flour, salt and maple sugar in the main dough into a basin, and dissolve the yeast in some warm water;

-
Pour the liquid into the flour;

-
Add yeast water, mix well and then add the remaining water;

-
Use a spatula to mix into a dough without dry flour;

-
Transfer to silicone mat and start kneading. The method of kneading the dough is: use the part under the thumb of one hand to knead the dough far away;

-
Then roll the dough back, change the angle, and repeat the action;

-
Knead the dough until it expands, that is, you can pull out a thicker film. After the film is punctured, the edge of the hole will be jagged;

-
Add butter and continue kneading the dough until it is fully expanded;

-
At this point, your palms should be very clean;

-
It should be easier to pull out a larger and tougher film from the dough. After piercing the film, the edge of the hole will be smooth, and fingerprints can be seen through the film. There should be some small bubbles on the film that resemble bubbles;

-
Place the dough in a basin, cover with plastic wrap, place in a warm place, and ferment;

-
For about 1 hour (room temperature is about 22 degrees Celsius), the dough will ferment until it doubles in size. Dip your fingers into dry flour and poke holes without shrinking or collapsing;

-
Take out the dough and let it deflate slightly;

-
Divide the dough into 3 evenly sized pieces;

-
After rolling the dough into a ball, cover it with plastic wrap and let it rest at room temperature (about 22 degrees here) for 15 to 20 minutes;

-
Take a small, relaxed dough and roll it into a rectangular shape;

-
Turn over;

-
Fold one side of the dough in the middle and do the same with the other side;

-
Cover the prepared dough with plastic wrap and rest at room temperature for 10 minutes;

-
Roll out the dough into a long strip again;

-
After thinning the bottom edge, roll it up from top to bottom;

-
There are about 2.5 volumes;

-
Put it into the mold;

-
Spray some water;

-
Put it in the oven, turn on the oven fermentation function, and put a bowl of hot water for secondary fermentation. In about 1 hour, the dough will ferment until it is 8 minutes full. Gently press the surface of the dough with your fingertips;

-
The dough springs back quickly and leaves no marks. The surface of the bread dough should be relatively smooth;

-
Preheat the oven to 200 degrees in advance (this should be done near the end of the second round). After preheating, spray some water on the surface of the dough;

-
Put it into the preheated oven, lower the rack, heat up and down, 190 degrees, and bake with a baking grid for about 35 minutes. Wait for 10 to 15 minutes. After the surface is colored, cover it with a layer of tin foil to prevent the surface from getting too dark;

-
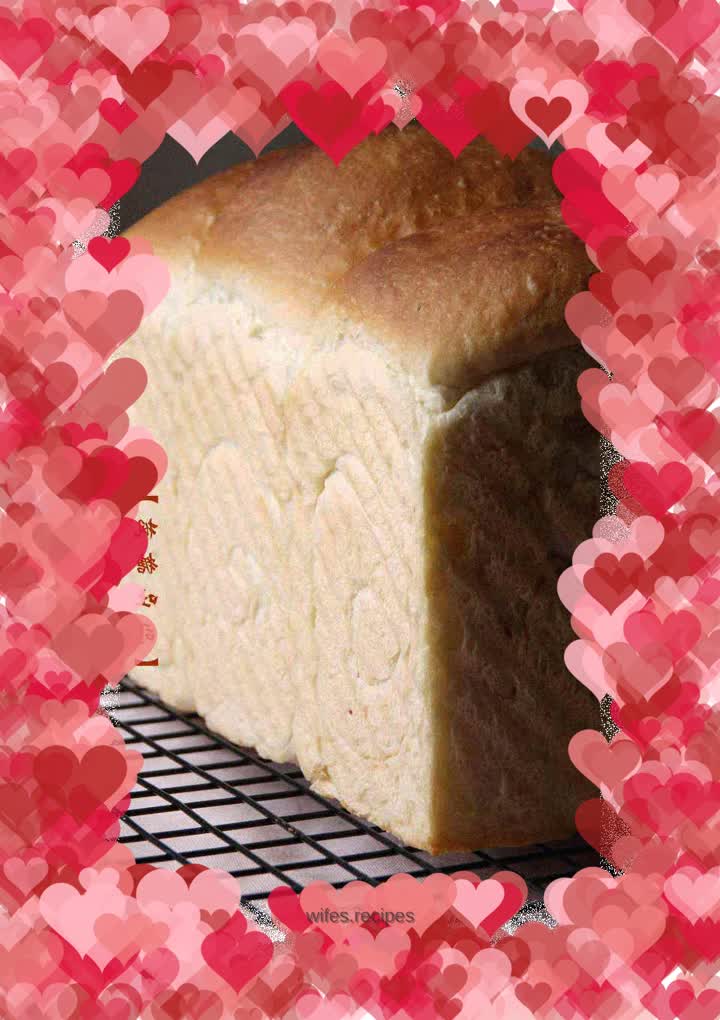
After baking, take it out of the oven immediately, shake the mold on the countertop, and then place it sideways on the oven;

-
Cool to room temperature without scalding, then store in a sealed bag.
