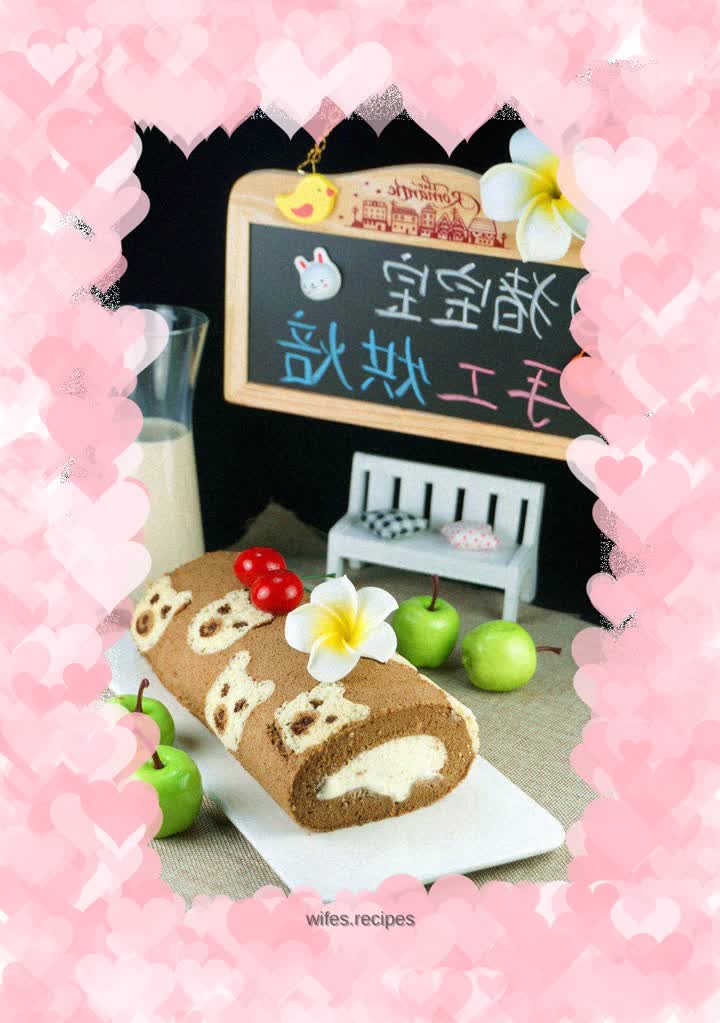
Bear painted cake roll
Overview
Continuing the journey of experiencing the Petri PE5321 Shuttle high-end electronic oven, this time I tried making cakes. Thinking that my baby’s wish was to eat the cute birthday cake made by his mother, so I chose to make this cute bear-painted cake roll. There was a bit of a mistake in the drawing this time. The cute little bear turned into an ugly father bear, but the taste is still good~ This new oven from Bai Cui has many highlights: the maximum temperature difference is ±1°C and imported thyristor. The M-type heat burns evenly, and the control knob can display the temperature and time. What you adjust is what you get. In addition, you can make reservations. DIY customized baking mode: up to 12 hours of reservation, and the record is automatically saved. It makes me love baking and exploring the kitchen even more~ I heard it will be launched on June 10th, so stay tuned! So excited!
Tags
Ingredients
Steps
-
First, mix three egg yolks, 60 grams of water, 40 ml of olive oil, and 35 grams of fine sugar.

-
Then sift in 70 grams of low-gluten flour and mix until smooth.

-
Take two teaspoons of egg yolk paste into a small bowl, add 1/2 teaspoon of cake flour and mix evenly. In addition, take 1 tsp of egg yolk batter, add 1/8 tsp of low-gluten flour and 1/8 tsp of cocoa powder, and mix into a light-colored cocoa batter.

-
Beat an egg white until foamy, then add a little cornstarch and continue beating until wet to dry peaks. At the same time, preheat the oven to 170 degrees.

-
Add one-third of the meringue into the small yellow batter and mix well. Add another 3 tablespoons of meringue into the cocoa batter and mix well.

-
Put them separately into piping bags.

-
Line a baking sheet with absorbent paper, then brush with a layer of oil, and use cocoa batter to draw the bear's nose, as shown in the picture.

-
Place in the middle rack of the oven and bake for 1 minute, then remove.

-
Then draw the shape of the bear's head, put it in the oven and bake it for one minute, then take it out.

-
Add the remaining cocoa powder to the large bowl of egg yolk batter and mix evenly.

-
.Add 30 grams of fine sugar in three batches, beat the remaining 3 egg whites until they form a large hook, add the remaining cornstarch, and beat for a few seconds.

-
Mix all the meringue and cocoa cake batter evenly.

-
Pour the cocoa cake batter onto the pattern, shake out large bubbles, and smooth the surface.

-
Place in the middle rack of the oven and bake for 15 minutes.

-
After taking it out of the oven, cover the surface with a new piece of oil-absorbing paper, then invert the cake on a cooling rack, tear off the parchment paper, cover it back on the cake body, and let cool.

-
During the cooling process, add 150 grams of whipped cream to 15 grams of fine sugar and beat until stiff peaks form, spread on the cake body. Cut off a few edges of the cake body diagonally.

-
Roll up and refrigerate for half an hour to set.

-
After setting the shape, use chocolate sauce to dot the eyes, nose and mouth.
