Sakura mousse cake (no oven required, super detailed 22 steps)
Overview
A few days ago, I happened to be chatting with my mother about watching cherry blossoms. I happened to have some leftover cherry blossoms from the last time I made pudding, so I made this cake (6 inches) for my mother’s birthday. I wish my mother a happy birthday and good health and longevity!
Tags
Ingredients
Steps
-
Soak the cherry blossoms in cold boiled water 7-8 hours in advance (if you include the production time, you can soak them 3 hours in advance). Change the water several times in the middle

-
First, grind the digestive biscuits into powder in a food processor

-
Heat butter over water and melt

-
Mix the melted butter into the digestive biscuit powder and mix well

-
Put the biscuit butter mixture into the mold, press it tightly, and put it in the refrigerator to freeze for more than half an hour

-
Weigh 100G of yogurt (I made it myself, if you buy it, it’s better to use thicker one)

-
Add 2ml lemon juice concentrate to the yogurt and mix well (you can use fresh lemon juice instead)

-
Wash the strawberries, remove the stems and cut them in half

-
First pour out 100G whipping cream and add 20G fine sugar

-
Beat it with ice water or ice cubes with a whisk until 60% or 70%

-
Soak the jelly slices in 30g of pure water until soft, heat over water until melted, stir into jelly water, let cool and set aside

-
Add the general yogurt lemon juice mixture, add a small amount of freeze-dried strawberry powder and cooled gelatin liquid and mix well

-
Arrange the strawberries against the mold

-
Import the mousse liquid in step 11 and put it in the refrigerator for more than an hour

-
Mix the remaining whipped cream and sugar and beat over ice. Repeat step 10, soak another jelly slice, pour the cooled jelly liquid into the whipped cream, then add the remaining yogurt-lemon mixture, stir well

-
Take out the frozen pink mousse, pour in the white mousse from step 14, smooth the surface, and put it in the refrigerator for more than three hours

-
Put the last piece of jelly in 200G of pure water, heat it over water and melt it. After melting, add sugar and lemon juice to taste (this is the mirror surface) and let it cool for later use

-
After the mousse is frozen, pour half of the mirror liquid along the edges and place it in the refrigerator for 15 minutes

-
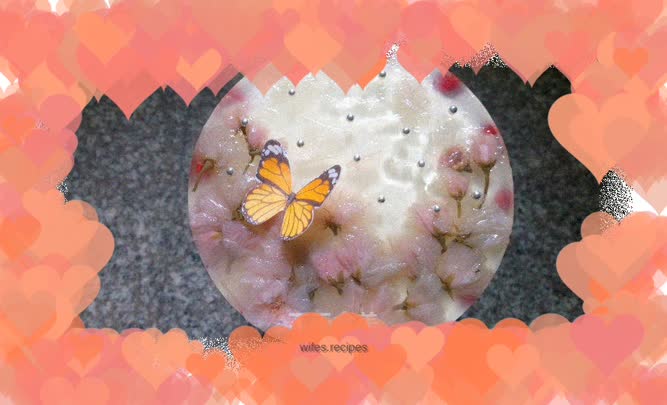
After the mirror is frozen, gently press the cherry blossoms to remove the moisture and place them on the mirror in the position you like (I put too many)

-
After the cherry blossoms are placed, slowly pour the remaining mirror liquid along the edge of the mold and place it in the refrigerator for more than 4 hours or overnight.

-
After the mousse is ready, blow it with a hair dryer or cover it with a hot towel to remove the mousse (the flash is on, so the pink layer is not obvious, and the big difference can be seen with the naked eye)

-
After unmoulding, decorate slightly with sugar beads etc.
