Homemade Liangpi
Overview
It’s a hot summer day and I have no appetite. Mixing it with cold skin can be used as a cold dish or as a staple food. It also has the effect of losing weight, so why not!
Tags
Ingredients
Steps
-
Take a bowl and a half of flour.

-
Add about a bowl of cold water, add the water little by little, and knead it into a soft and smooth dough.

-
Cover and let rise for about thirty minutes.

-
Pour two bowls of water into the basin, knead the dough with your hands continuously, wash out the white batter, and pour it into another basin. (This is the first time)

-
This is the second time kneading the dough.

-
This is the third time kneading the dough.

-
This is the fourth time kneading the dough.

-
This is the fifth time kneading the dough.

-
Repeat this process 6 times, adding two bowls of water each time, until no more white batter can be washed out.

-
The remaining dough at the end is the gluten.

-
Strain all the washed batter into a basin using a tight-fitting colander.

-
Wrap with plastic wrap and place in the refrigerator to settle for at least 3 hours, then wake up. (I took it out overnight)

-
While the noodles are resting, steam the gluten in a pot over high heat until cooked.

-
After about 20 minutes, the gluten is steamed and turned off the heat.

-
Take out the gluten and let cool.

-
Let the gluten cool and then cut into cubes and set aside.

-
Take out the waked batter and return it to room temperature, then slowly pour out the water on top. You don’t have to pour it all out, just leave the water as high as the thickness of your little finger.

-
Then mix the remaining batter evenly.

-
Take two other metal plates, rub a thin layer of oil on the bottom of the plate and use them alternately. Pour half a spoonful of batter into the plate and mix well. It is best to spread it thinly.

-
Bring water to a boil and place the plate on the boiling water for 15 seconds.

-
When the surface is about to solidify, cover and simmer for about 1 minute.

-
Until the batter inside bubbles, remove the lid.

-
Take out the dish and place it in the prepared cold water to cool down.

-
Then gently peel off the cold skin from the plate.

-
Stack the peeled cold skin neatly on the plate.

-
Mash the ginger and garlic.

-
Chop chives, fish coriander, and peanuts

-
A spoonful of sesame paste is prepared in advance with a spoonful of sesame oil and two spoons of homemade peppercorn oil.

-
Cut the cucumber into shreds for the base.

-
Cut the cold skin into thumb-wide strips and place on top of the cucumber shreds.

-
Sauce: Add the sesame paste that has been purged in advance, three spoons of red oil chili, one spoon of pepper noodles, half a spoon of sugar, two spoons of ginger and garlic paste, four spoons of soy sauce, two spoons of vinegar, one spoon of homemade pepper oil, and one spoon of MSG to make a sauce

-
Then sprinkle crushed peanuts, gluten, and chives on the cold skin.

-
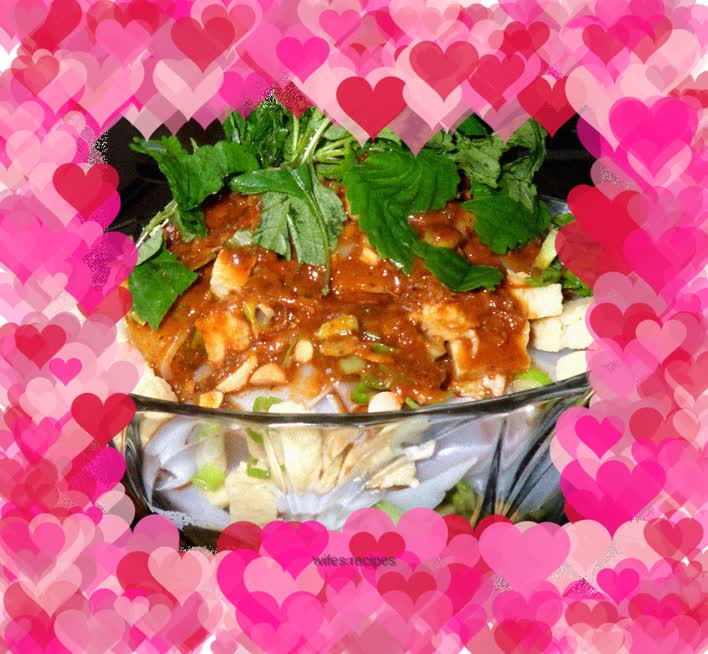
Pour the prepared juice onto the cold skin and sprinkle with fish coriander.

-
Just mix well when eating.
