Homemade pot stickers
Overview
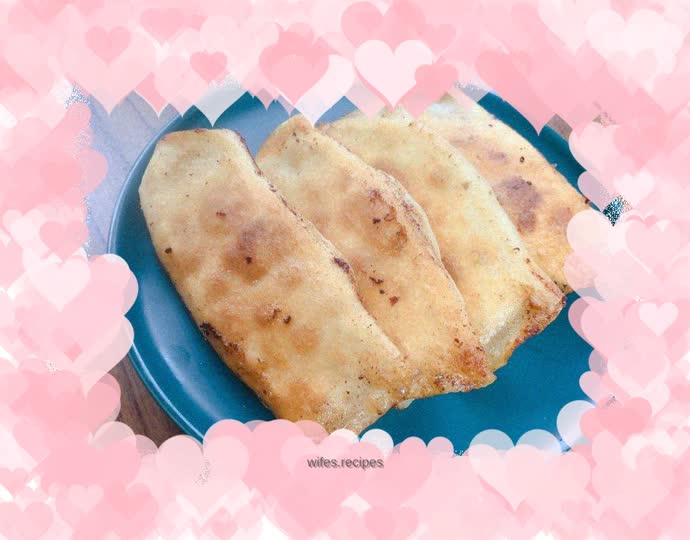
I tried making pot stickers once. They tasted pretty good, but the presentation was flawed. I will try to improve them later.
Tags
Ingredients
Steps
-
Add a little salt to the flour and mix with warm water.

-
Knead into a smooth dough and let it rest for 20 minutes.

-
The green onions on the balcony are growing a little too happily, they are very tender. Making stuffing and eating it is also to use up the green onions.

-
Pinch it. This freshness feels so good, and it only takes half a minute to go from the field to the kitchen. Unfortunately, only spring onions can grow well on my balcony, not other vegetables.

-
Chop finely.

-
Put appropriate amount of pork filling in the basin.

-
Add green onions, minced ginger, and peppercorns.

-
Here comes the secret to the delicious filling. Mix an appropriate amount of soybean paste with water and add it to the filling.

-
Mix into the filling and stir clockwise until it feels a little stronger.

-
After waking up, shape the noodles into pieces that are larger than usual dumplings, roll them out into thin sheets and prepare.

-
After the electric baking pan is preheated, add an appropriate amount of oil and turn to low heat. I poured a little too much, but a thin layer is enough.

-
Take a piece of skin, put stuffing on it, and wrap it like a pot sticker, as shown in the picture, leaving both ends unsealed. Place in pan.

-
Wrap them one by one and put them in the pot. Fry over low heat for 4 minutes.

-
When the filling changes color slightly, turn to high heat and add half a small bowl of water. In fact, you should add water starch and ice flowers will appear. Try again next time. When steam begins to form, cover the pot. PS: The pan didn’t have a lid, so I just found a lid that could cover it and forgot to take a photo.

-
After 4 minutes, the water will dry up and the pot stickers are ready. Place bottom side up on a plate.

-
Here's a close-up, the bottom is golden and crispy. Because too much oil was put in, small black residue appeared, which affected the appearance. I will improve it next time.
