Colorful snowskin mooncakes
Overview
How to cook Colorful snowskin mooncakes at home
Tags
Ingredients
Steps
-
Weigh all dry and wet ingredients. Classified storage. Mix the powder evenly and sift it.

-
Sift the glutinous rice, sticky rice, and starch powder and mix them with the sugar evenly. Add half of the milk and mix well. Add the remaining half of the milk and mix well. (If the powder mixture cannot be mixed or is too dry, you can also add all the milk at once and mix well and set aside. In this case, it depends on the dryness and wetness of the powder mixture.) Mix until the mixture is completely free of particles, then add the weighed oil. Continue to stir evenly and set aside.

-
Cover the mixed snowskin mooncake powder with plastic wrap, turn on the steamer and steam for 25 minutes. In the state of apparently stagnant solid adhesive, it will spread out under stirring to facilitate heat dissipation. After cooling, place it in the refrigerator for 1 hour, take it out, and continue working.

-
Use a scraper to stir the snowskin mooncake skin on the chopping board, stir it once, and push it out with your hands. Then use the scraper to rub it inward, fold it in half on the ice skin, and rub it outward with your hands. Knead in this way repeatedly until the crust is smooth, then cover with plastic wrap and continue to refrigerate for half an hour.

-
Divide the refrigerated snowskin mooncake skin into four parts, add four different colors of fruit juice powder respectively, knead evenly, and adjust the color to your ideal color. (Small door: If your hands are sticky when kneading the ice-skin pie crust, you can wrap your hands in plastic wrap or plastic gloves before kneading the pie crust.) Divide the color-adjusted dough into 30g portions or 25g portions. And roll into small balls and set aside. The two kinds of fillings are also cut into 20g or 25g portions, and rolled into small rounds for later use.

-
Wrap the divided ice skin ingredients into two different fillings. Roll it into a round shape and close it under the mold to make the finished product beautiful. After the snowskin mooncakes are formed, it is best to roll them into a cylindrical shape before placing them in the mold, and press the bottom of the mold flat with your hands. Hold the mold flat with one hand and press the mold lever with the other hand. Press with a little force to shape the embryo and demould it, waiting for packaging. (Note: If you are making two-color snowskin mooncakes, take 5g of other colors of cake and dip it in some cooked flour to prevent it from sticking to your hands. Print the pattern on the flower piece of the mold and stick it on the flower piece for later use. Place the prepared snowskin mooncake embryo under the glued pattern surface, press it into shape and demold. It is ready.)

-
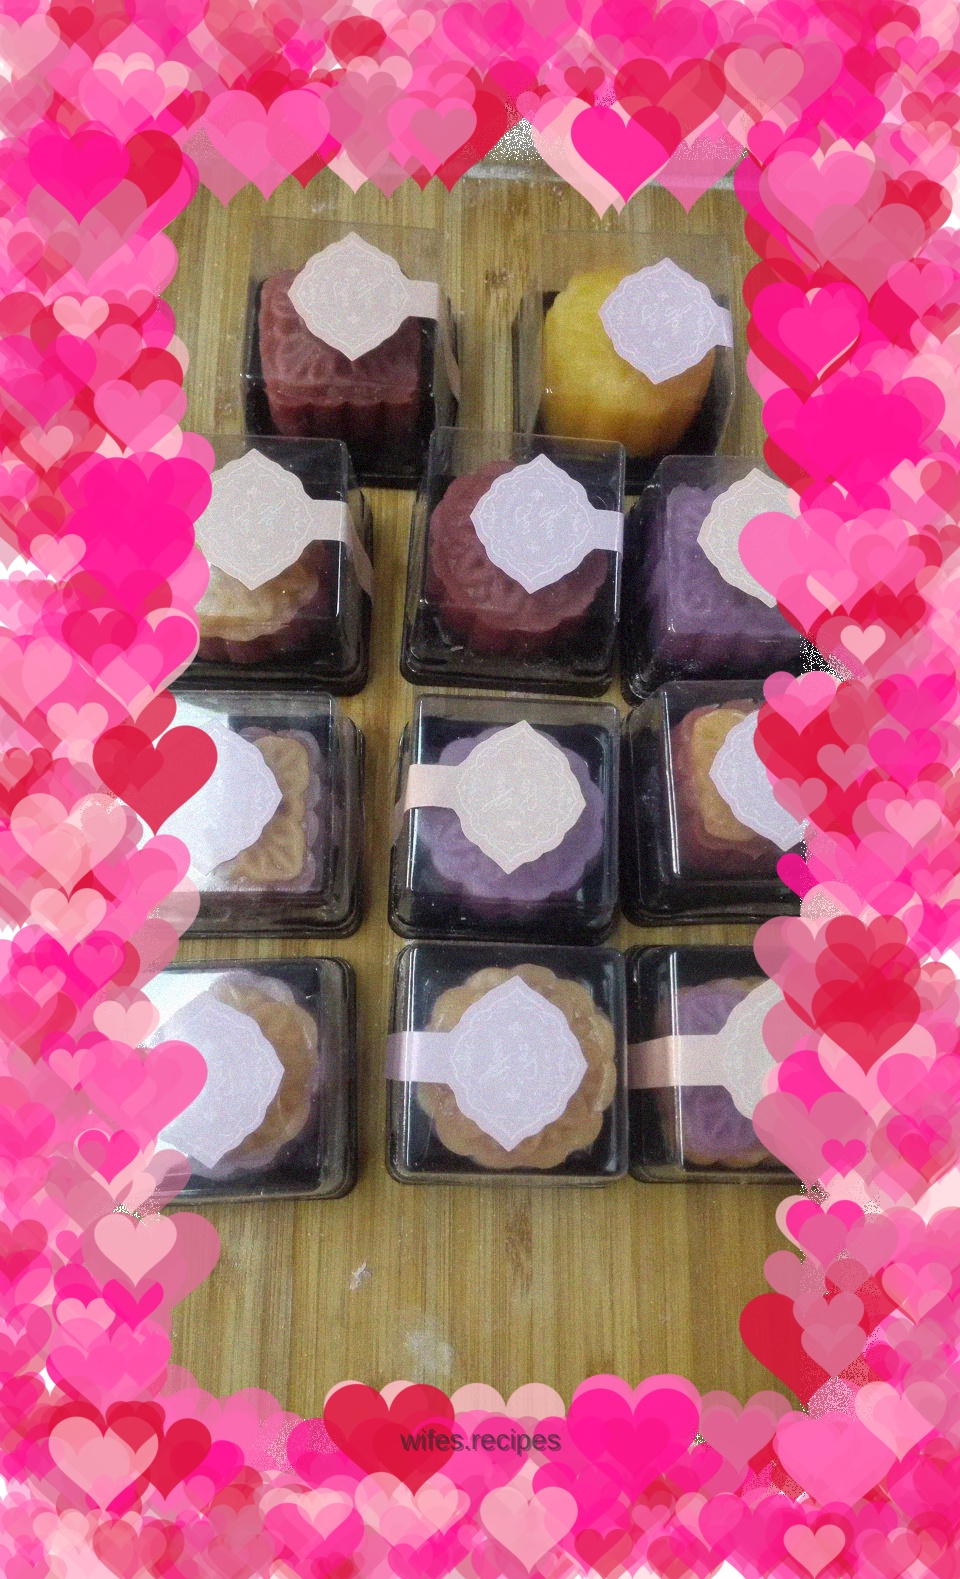
Pack the formed snowskin mooncakes and put desiccant at the bottom of the box. Seal and label. Boxing is complete.

-
The renderings after boxing are not bad! It’s no different than what I bought. The handmade mooncakes are finished and ready to be given to friends!
