Sesame Shaobing
Overview
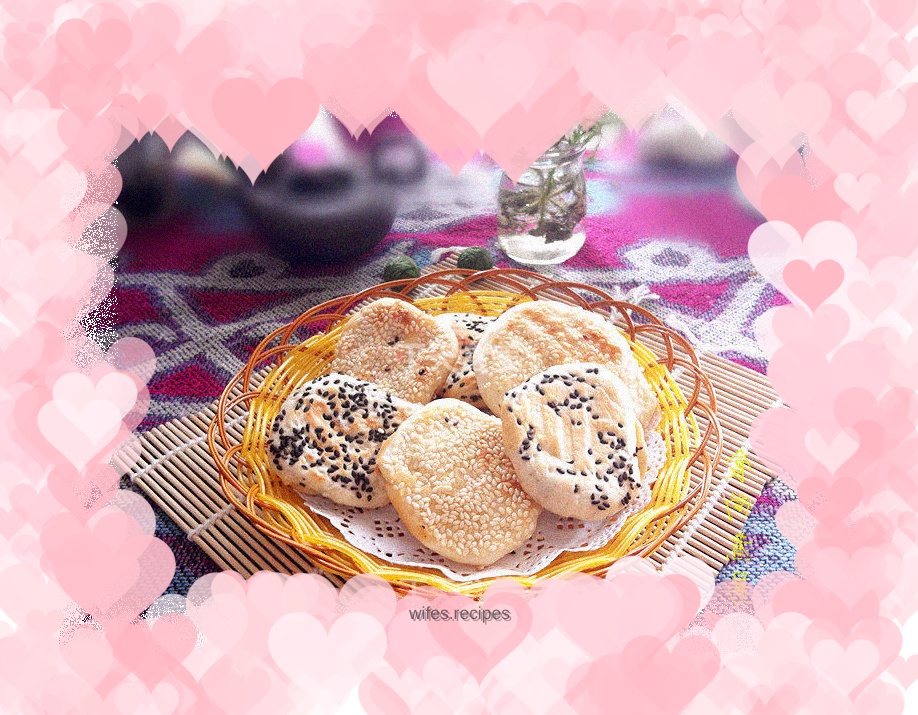
This is the sesame sesame pancake I made some time ago. The pancake has already been digested and absorbed O(∩_∩)O. The taste and texture are of course unparalleled. Today I will take advantage of my free time to sort it out, upload it and share the making process with everyone. . .
Tags
Ingredients
Steps
-
Dissolve the yeast powder in warm water, add a little salt, and let it sit for about 5 minutes.

-
Use a larger bowl to scoop up the flour, slowly add the yeast water, and use chopsticks to stir into snowflakes.

-
Knead into a smooth dough on a clean surface.

-
As the saying goes, three lights: refers to the light of the face, the light of the bowl, and the light of the hands. After kneading, use a bowl to scoop it up.

-
Cover the dough with plastic wrap or a clean wet towel and let it rest for about 1 hour. (The dough expands two or three times in size, the temperature difference between summer and winter is large, and the proofing time is also different)

-
Take out the dough, knead it again, and squeeze out the small air bubbles in the dough. Roll into strips and cut into equal-sized pieces with a knife.

-
Press into round cakes. (The shape is random, just like it)

-
Use two plates to scoop up sesame seeds, and stick white sesame seeds on both sides of the rolled cake.

-
Stick with black sesame seeds.

-
Then press it slightly to prevent the sesame seeds from falling off.

-
After preheating the electric baking pan, brush both sides with cooking oil.

-
Neatly lay out the sesame cakes, cover the lid of the electric baking pan, press the sesame cake function button, and start working.

-
When the time is up, the electric baking pan will give a sound prompt. Scoop up the sesame cake and cool it slightly to become crispier.
