Homemade Liangpi
Overview
I always feel that the cold skin bought at the market is not fresh enough, and the texture and taste are not as good as those made by myself. Especially if you make it yourself, your children will feel more at ease eating it. Mothers with babies should have this experience, haha!
Tags
Ingredients
Steps
-
Mix flour and starch in a ratio of 2:1, add water to form a dough (the ratio can be adjusted according to your own preferences, starch can increase the transparency of the cold skin);

-
After the dough has risen for 20 minutes, add water to wash the dough;

-
Knead the dough with your hands until the water turns milky white;

-
Pour the washed facial water into another bowl, and then repeat steps 2 and 3 to wash your face three times;

-
Let the washed batter water settle for 20 minutes;

-
Keep the remaining gluten after washing the noodles and steam it in a pot;

-
Pour away the clear water on the surface of the precipitated noodles and stir evenly

-
Brush a layer of oil on a flat bottom plate, scoop 2 tablespoons of batter into the flat bottom plate, put it into the pot and steam for 1 minute after the water boils (usually it will solidify and change color);

-
Quickly rinse the steamed cold skin in cold water;

-
Let the steamed cold skins cool and then stack them together;

-
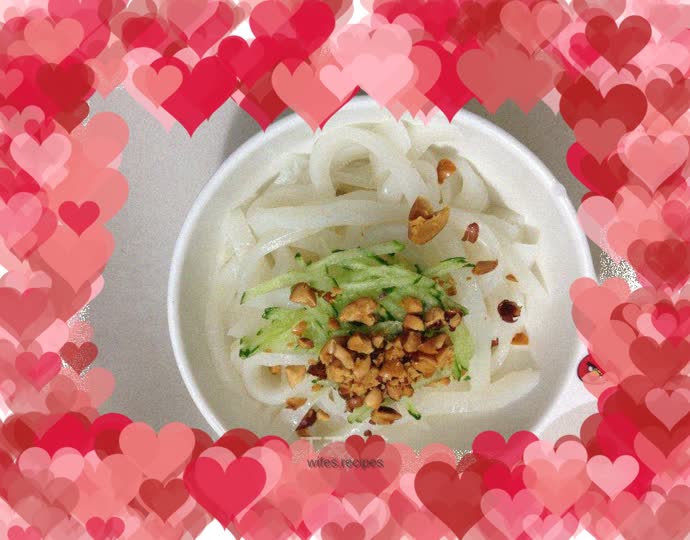
Cut the cold skin into shreds, cut the gluten into small pieces, grate the cucumber, put it into a bowl, add crushed peanuts, soy sauce, vinegar, garlic water, marinade, and chili oil;

-
Stir evenly.
