Homemade Liangpi
Overview
This time the main gluten was not washed, so I will show you a picture of the steamed gluten later, but it will not affect the taste. Still pretty awesome.
Tags
Ingredients
Steps
-
Add appropriate amount of flour to the dough and let it rest for 10-20 minutes. It doesn't hurt to knead the dough as hard as possible, not too soft. After waking up, add appropriate water and start washing the dough.

-
Wash your face. Note that in this picture, you have not finished washing your face. Then wash.

-
This was the last face I washed, but in the end it turned out that it was still not completely clean. So remember to wash your face with clean water, or run it directly under the faucet until it is clean.

-
The water after washing the noodles is filtered through a filter and placed in a container until it settles. The handling of gluten has been explained before.

-
One more thing, the gluten must be washed and soaked in clean water first. I added yeast and soaked it in yeast water.

-
I soaked the gluten in yeast water and put it in the refrigerator. When starting to make cold skin, start steaming the gluten. Evaporate the gluten for 20-30 minutes. I did not wash the gluten thoroughly, so the steamed gluten was not fluffy enough. So everyone must pay attention.

-
The flour water that has settled overnight must be wiped off as cleanly as possible. Remember it’s all pure water

-
Boil water in a large pot, and brush the stainless steel plate used to make cold skin with oil, not too much. The precipitated flour must be stirred evenly. Use a spoon to scoop the dough into the container you are using to make cold skin. Fill the container with the flour precipitate and then swirl it into the boiling hot water. Cover the pot and steam for three minutes until the skin puffs up. The rotating movement can be understood but cannot be expressed in words. Let’s practice this on our own, safety first!

-
After the cold skin is steamed, I immerse the cold skin container in cold water to lift the skin. Like, this is the first cold skin made.

-
Just do it one by one. Remember to grease the previous one before putting it on. Finally cover with wet gauze.

-
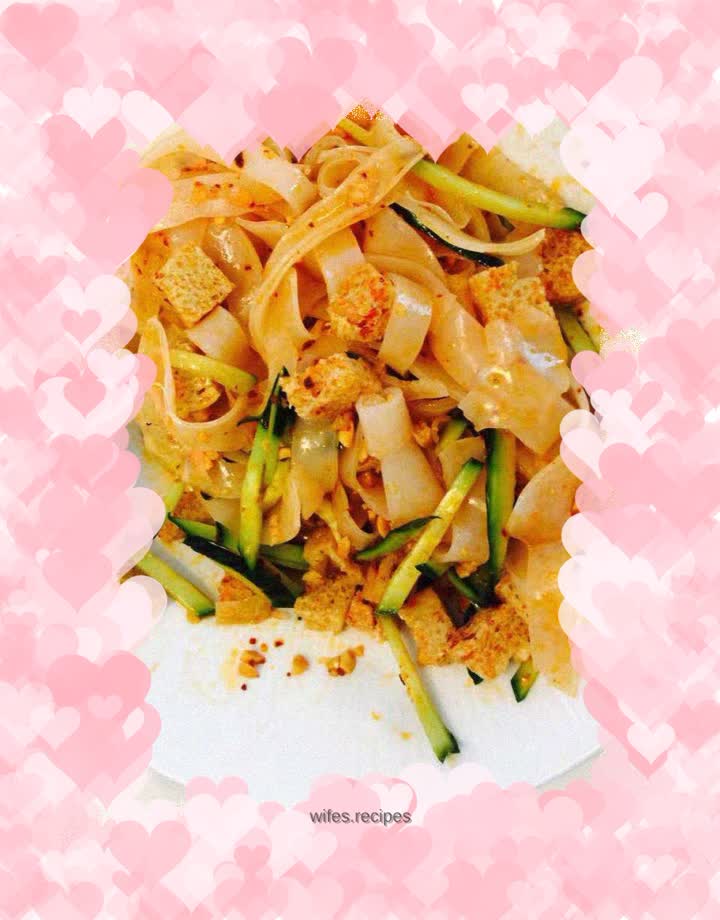
Before eating, cut the cold skin into pieces and add your favorite toppings. Do whatever you like.

-
You can eat it like this or

-
You can also eat it like this
