Chive and pork pie
Overview
Sister Xin's eyesight has not recovered after the operation. She often sheds tears and has a headache after the operation. It is very difficult to look at her mobile phone even if she is in pain. Since the open class in the group was transferred to the Food Meetup blog and continued to teach in the form of posts, Sister Xin has not synchronized the recipes to Meitian for a long time. I am really sorry for those who have been following my sister. From today on, Sister Xin will try to make up for the original recipes that she has not synchronized. The subsequent published recipes will also be synchronized to Meitian. I hope you will forgive me!
Tags
Ingredients
Steps
-
Wash the scallions, drain the water and cut into chopped scallions, add a little salt powder, mix well and marinate for a while.

-
In the ingredients, I wrote the approximate weight of the chives. Please check the volume of the pork when operating. A ratio of 1:1 by volume is appropriate.

-
After weighing the flour, pour it onto the chopping board, add yeast in order and mix evenly. Add eggs, water and salt to knead the dough to make fried pies. Do not knead the dough too dry. Only soft dough will make the pancakes crispy on the outside and soft on the inside. But if the dough is soft, it will stick to your hands, so you need to grease your palms with oil for the latter part.

-
After kneading the dough, there will be no dough on your hands or on the chopping board. Then, sprinkle some dry flour on the chopping board, divide the dough into pieces according to the weight of 30 to 60g of a cake, roll it into a ball, cover it with a plastic bag and let it rest for 10 minutes.

-
Take a piece of dough, press it slightly with the palm of your hand, trim the shape appropriately, and then fill it with filling.

-
When wrapping the fillings, you don’t need to fold them carefully like making steamed buns. Just seal the mouth as shown in the picture.

-
Heat the pan, add cooking oil to the upper and lower plates, place the wrapped pie with the seam side down, and gently press it into a pie shape with your hands.

-
Place the pie on the plate, close the lid and fry until it takes shape, then add water in three batches, and use the steam to simmer until cooked.

-
After draining the water for the last time, fry the pie until the outside is crispy before taking it out of the pan, otherwise the taste will be much worse.

-
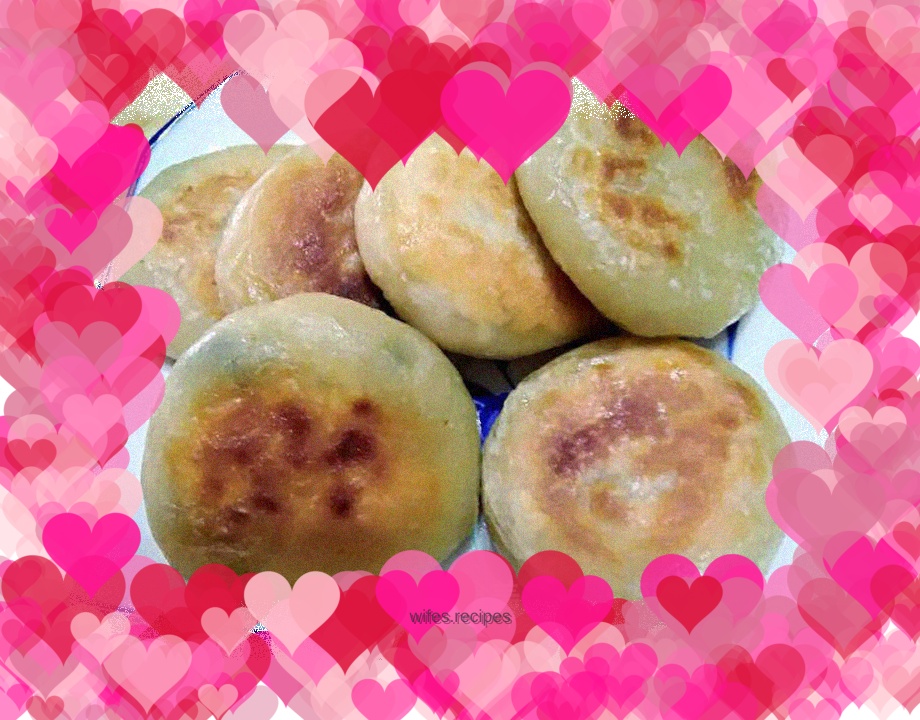
Finished product pictures
