Bran walnut flower buns
Overview
The oven is more than just a kitchen appliance for me. After so many years, it is more like a friend and a daily companion. This time I used two ovens to work at the same time. The difference is obvious. The same temperature, the same time, but the finished product is completely different. The lower one is a 9-year-old oven. It is more vivid and seems to have blushing cheeks. The upper one is a new oven that is several months old. The color is even and calm. There is not much difference in taste. I am used to eating my own handmade bread, but the bakery-bought bread will feel too sweet and oily. It’s true that it uses a lot more sugar and butter than making it yourself. It’s still the healthiest thing to do it yourself :)
Tags
Ingredients
Steps
-
Knead the dough to the expansion stage using the post-oil method and leave it in a warm place to ferment.

-
After the basic fermentation is completed, take out the dough and deflate it, divide it into 40 grams each, roll it into a round shape and let it rest for 15 minutes.

-
Roll the rested dough into a round shape, forming two pieces into a group.

-
Dip one piece in breadcrumbs and place on top of the other piece.

-
Arrange the dough on a baking sheet for final rise.

-
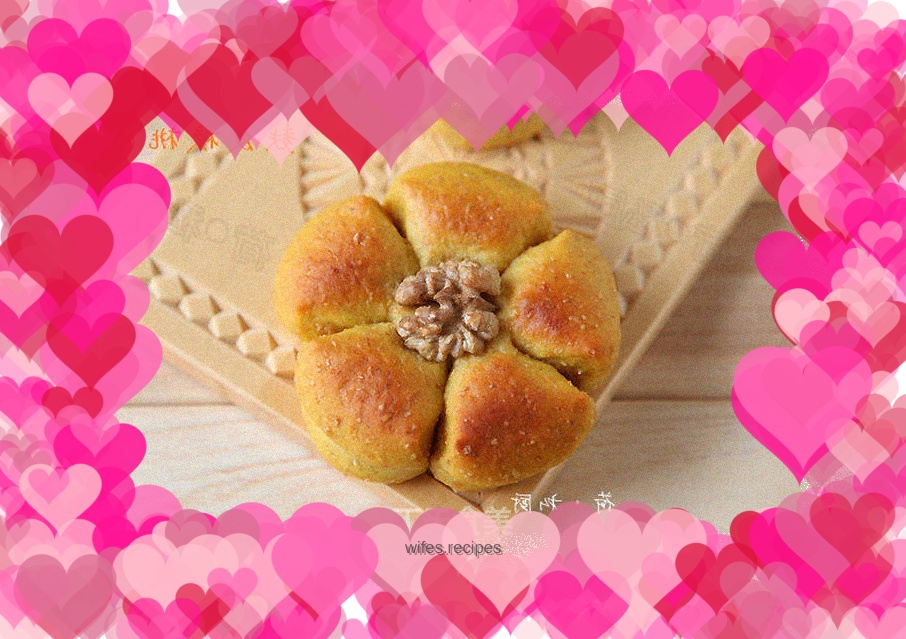
At the end of fermentation, use scissors to cut 5 openings evenly on the bread.

-
Place 1 walnut kernel in the middle and press lightly into the dough.

-
Place in a preheated 180°C oven, middle rack, and heat up and down for about 15 minutes.
