Printed biscuits
Overview
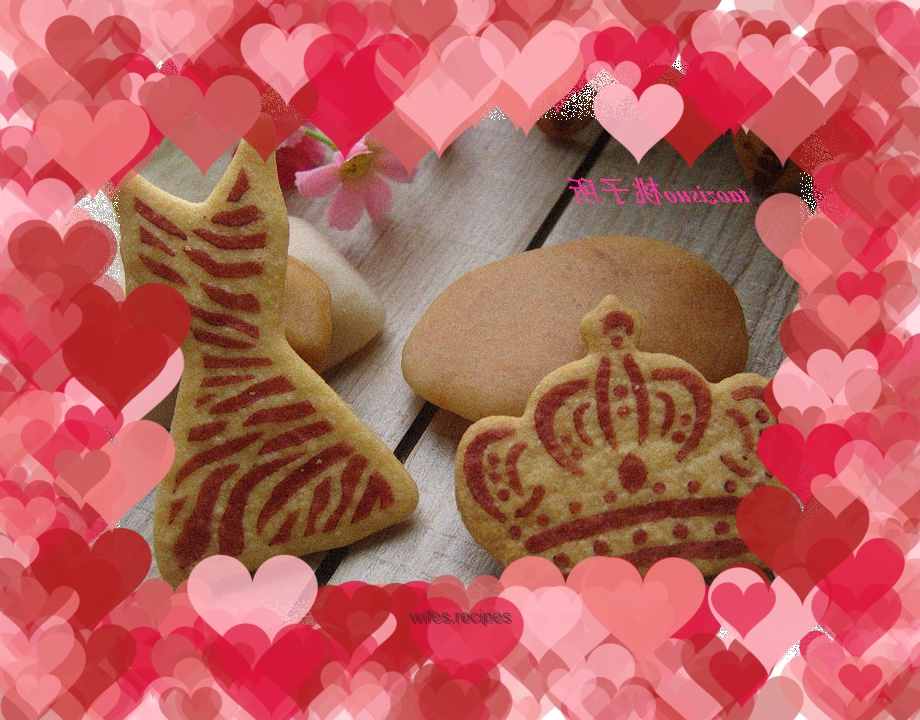
Once, an expert uploaded a picture of printed biscuits to the space. I like this one and that one! Ask quickly, I haven't seen it before, I have to figure out the reason! After searching on Baidu and Taobao, I finally found the printing mold I like. Hurry up and do it! This Chibi Maruko-chan is my favorite!
Tags
Ingredients
Steps
-
Soften the butter and add powdered sugar;

-
Beat the butter until fluffy, add the egg yolks in portions, and beat again until fluffy. Beat each added egg yolk until it is fully blended with the butter before adding the next one;

-
Add milk powder and sifted cake flour;

-
Use a spatula to thoroughly mix the flour and butter.

-
Use your hands to knead the butter dough into a smooth dough, put it into a plastic bag and refrigerate it for 1 hour;

-
Take out the dough, take a small portion, and roll it into a 3 mm dough piece. Place the printing template on the dough piece. Use a small brush with cocoa powder (or other red yeast powder) to brush on the hollows of the template, and gently pick up the template;

-
Use a cutting die of the same shape to cut out the shape;

-
Transfer to a flat baking pan;

-
Place the baking sheet on the lower second shelf of the oven, bake at 130 degrees for 15 to 20 minutes;

-
Once the temperature has dropped, gently remove the biscuits and place on the grill.
