Butterfly Bread
Overview
Baking is not only for eating, but also for the beautiful mood created by a cute shape. Although the original shape of the bread has been changed during the fermentation process, when a cute bread comes out of the oven, the joyful mood is still indescribable. Make the dough into random shapes with your hands. After it comes out of the oven, you can be as creative as you like. Do it with your family and graffiti on the bread. It is a joy, a satisfaction, a sweet and happy time...
Tags
Ingredients
Steps
-
Prepare raw materials

-
Put the egg liquid, milk, sugar and yeast into the bread machine bucket

-
Add bread flour and salt

-
Adjust to fast kneading setting for 20 minutes

-
Add butter

-
Then adjust to the fast kneading setting for 20 minutes

-
Check whether the glove film can be pulled out. If not, continue kneading for a while

-
Put the dough into the bread machine bucket and turn it to the fermentation setting for 1 hour

-
Ferment until it is 2.5 times the original size. Check whether the fermentation is in place. Dip a little flour with your finger and poke a hole in the dough. If it does not shrink back, it means it is fermented

-
Deflate the dough

-
Roll the dough into a long strip

-
Roll up from both ends to the middle, as shown in the picture

-
Cut the middle part to make the preliminary shape of a butterfly

-
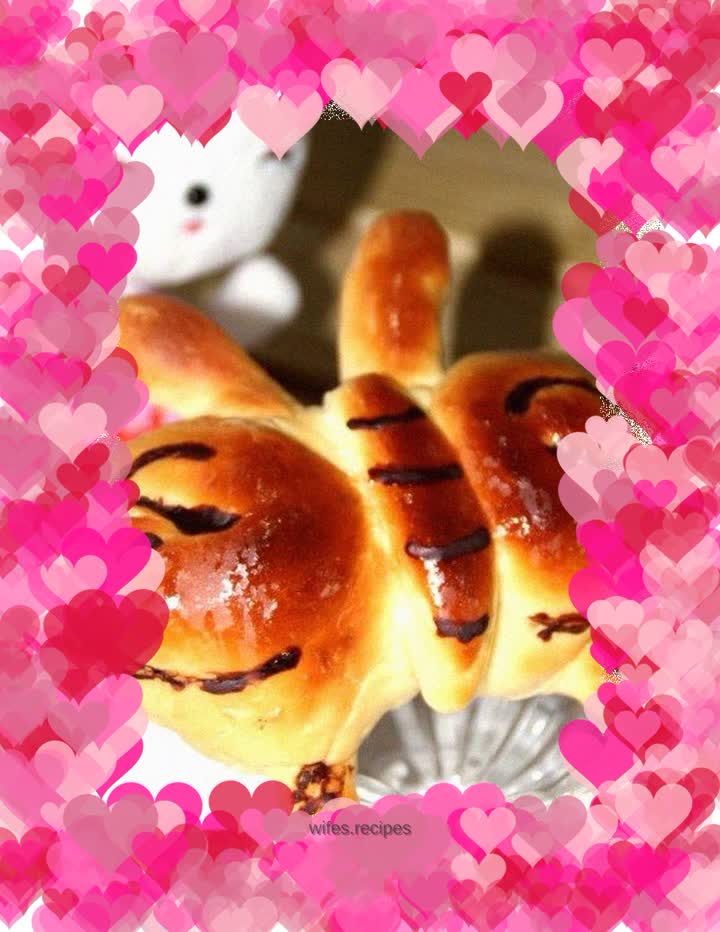
Then make the overall shape of the butterfly as shown in the picture

-
Put it in the oven and close the oven door to prevent moisture loss. After the secondary fermentation reaches 2.5 times the original size, place it in the middle and lower layers of the oven, heat up and down, 170 degrees for the top and 180 degrees for the bottom, bake for about 15 minutes

-
Add appropriate amount of cocoa powder to a little honey water to make a paste

-
When the bread comes out of the oven, brush the surface with honey water, and then decorate the surface with cocoa powder paste
