Pork Bibimbap
Overview
Make bibimbap in pressure cooker
Tags
Ingredients
Steps
-
Add ginger, soy sauce, light soy sauce, chili powder, and sauce into the pork for 20 to 30 minutes

-
I soaked sorghum, wheat kernels, red beans, and chickpeas before going to bed the day before. Today I added rice and soaked them for half an hour. The total amount of water added is the same as usual for steamed rice. I usually make half rice and half water, but this time I used a pressure cooker so there was a little less water.

-
Cut the carrots into small dices and the onions into small pieces.

-
After the oil is half hot, add peppercorns and a small piece of aniseed. Add the meat after it changes color. You can fry for a while.

-
Add the diced carrots and fry a little more.

-
Finally, add the onions and fry. The frying time should be short, just fry it twice

-
Spread the fried vegetables flat on the rice and turn on the rice steaming function of the pressure cooker.

-
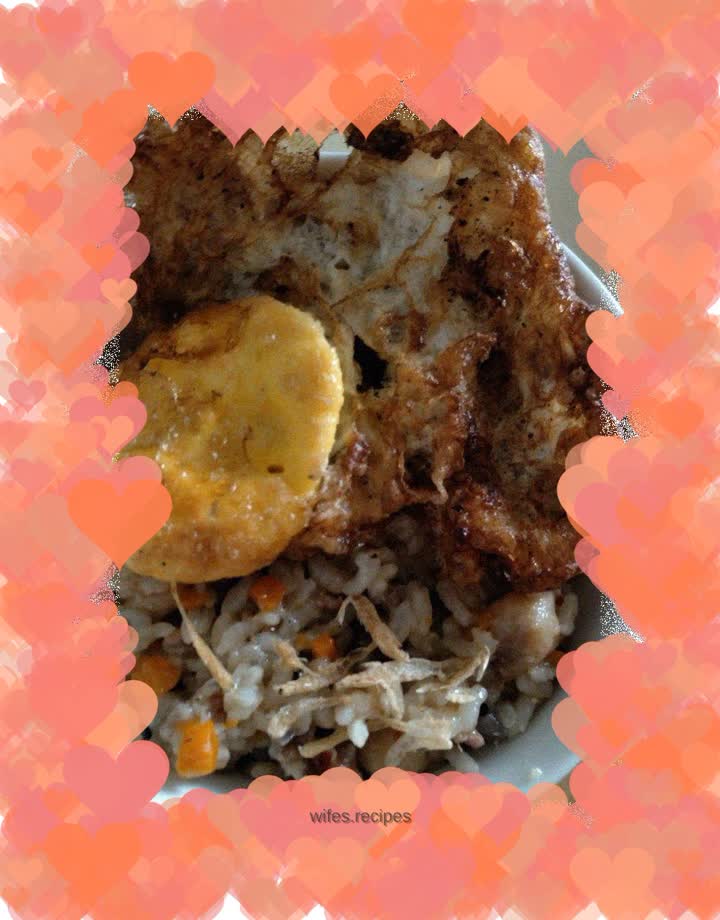
Open the lid and show off your appearance

-
When I started mixing, I added black sesame seeds, but it wasn't very noticeable after adding them.

-
For my portion, I like dried shrimps, so I added dried shrimps to the mix, and then added freshly fried poached eggs. I have to say, I really don’t know how to fry poached eggs.

-
For my mother's portion, the eggs looked really ugly, but they still tasted delicious.
